Tuesday, August 13, 2013

Yummy Taco Bake

This dish was super yummy! I didn’t have all of the ingredients for the original recipe so I tweaked it (like I usually do).
 
Here is what I used:
Half yellow pepper, minced
I medium sized shallot, minced
I lb. ground turkey
10 – 15 grape tomatoes, minced
1 pkg. taco seasoning
4 oz. Velveeta cheese
2 cups shredded cheese (I used mozzarella, but any could be used)
2 tortillas (I would use 3 the next time)
 
The first thing I did was sauté half a minced yellow pepper and a minced shallot.


Then I added a pound of ground turkey and browned it in the same pan as the pepper and shallot. To this I added about 15 minced grape tomatoes.


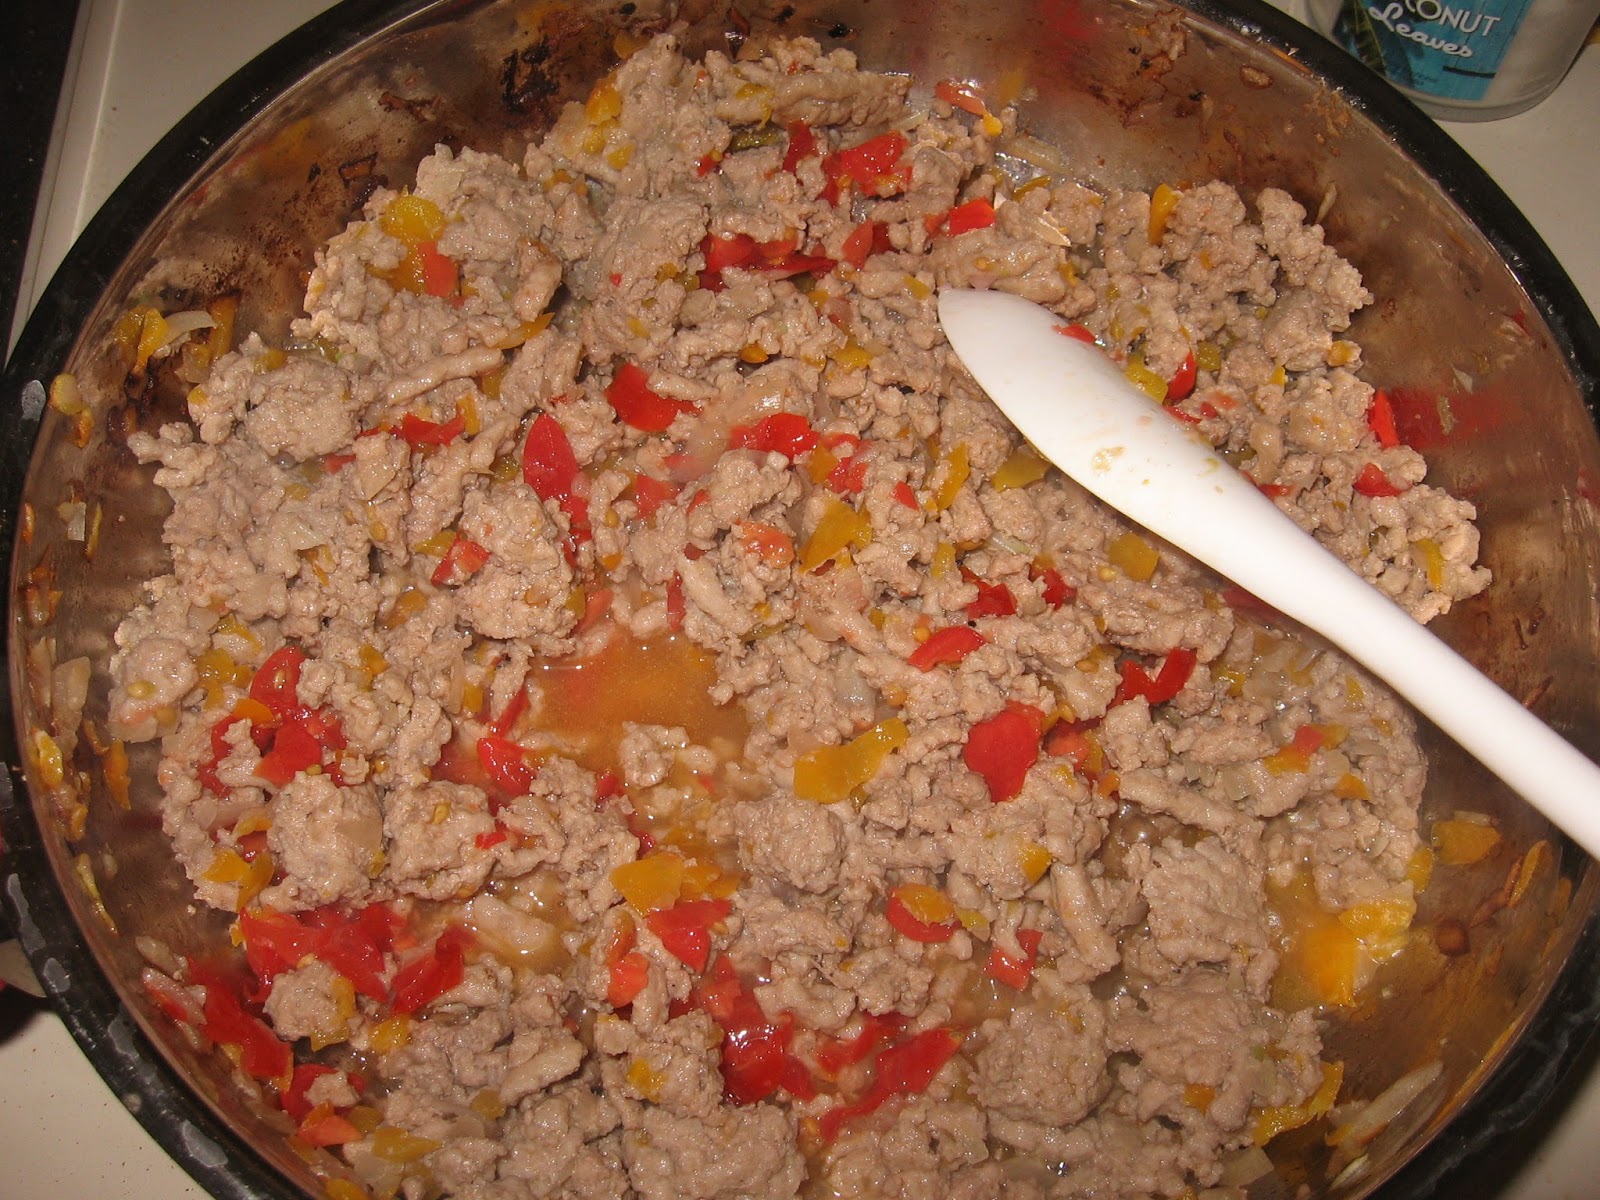
I also added a package of taco seasoning. I did not add the water called for on the package because of the juices from the pepper, shallot, and tomatoes.


While this was all browning, I placed a tortilla in the bottom of my baking dish. I trimmed the sides and filled in the gapes with the trimmings. I trimmed a second tortilla at the same time.


The original recipe called for salsa con queso which I did not have but I did have Velveeta! I cut off a 4 oz. section, cubed it, and added to the meat. Once the cheese had melted and it was mixed in, I took it off the heat.


Then I layered half of the meat mixture over the tortilla. Then I added a layer of cheeses followed by the second tortilla, meat, and cheese.


Then I baked it for 30 min at 350 degrees.


The next time I make this I will add a third tortilla on top of the top layer of cheese and then maybe some more cheese!

Sunday, June 23, 2013

Summer Feet

(Sorry no pictures this time)

I saw this idea for getting rid of dead/ rough skin on your feet. You take 1/4 cup Listerine, 1/4 cup vinegar, and a 1/2 cup of warm water, mix it all together and soak your feet for ten minutes. The dead skin is supposed to wipe right off.

I tired to do this. I doubled the recipe and it was still too shallow for both of my feet. I did one foot at a time. I soaked them for 15 minutes. It didn't "wipe right off". So I used a pumas stone and the soak made it a little easier.

Monday, May 27, 2013

Mango Confetti Salsa

So I recently joined the ranks of The Pampered Chef. Before I start having parties I wanted to play with my new kitchen gadgets. So my next couple of posts might be about Pampered Chef. I hope I do not sound like a commercial. But if anyone is interested in the things I use you can go to www.pamperedchef.biz/jenniferruch.
The first thing that I made was Mango Confetti Salsa:

1 large mango
          1/2 small jicama
1/3   orange bell pepper
1/3   red bell pepper
1   jalapeño pepper, stemmed
1/3 small red onion 
1 tbsp fresh lime juice
1/4 tsp salt
1/2 tsp Chili Lime Rub (Papmered Chef)
   Tortilla chips (optional)

The first step is to clean the peppers.


Then I cut them with my Veggie Wedger and diced them with my Manual Food Processor.


Then I did the same thing with the jicama and mixed them together.


I then sliced the mango with the Mango slicer.


I put the mango (minus the peel) in the food processor and diced it and mixed it in to the rest. I realized that my mango was kind of small and I added more later.
 
I also chopped and diced the onion and added it to the mix.


Then I added the juice of a lime and some Chili Lime Rub from Pampered Chef.


Last of course I tried it! It was YUMMY!!!!
 
 
So I noticed that there has been 350 page views to my blog. Thank you all for viewing! If something has been helpful please let me know. 


Tuesday, April 23, 2013

A Flip Flop Wreath!

So I had this wreath that I started back in the beginning of March and I wanted to do something with it. I saw a wreath made of flip flops and thought, "I can SO do that!" I went to the local dollar store and bought 5 pairs of flip flops. Then I laid everything out to get started!

 
(Not sure why but this is side ways and I can't figure out how to fix it)
 
Then I laid them out around the wreath. I had to go back online to look at the picture a couple times before I understood how they should go on.


After the bottom row was glued on with the toes pointing in I layered the second row with the toes pointing out.


Here is the finished product! After I hung it I realized that I should have switched the pink and the yellow on the top layer. I just might tear them off and put them in the "right" spots or maybe not.


Sunday, April 21, 2013

My Momma's Chili!

So this post is not from Pinterest but if you think it is good you could always pin it! When Ladies in our church have babies or when someone has a surgery we make meals for them and their families. This week I made chili and cornbread for a family.


This is the recipe that my mom sent me when I asked her about it:

I double this.

1 lbs. hamburger browned shake some salt over it and let it simmer 10 min.  1 can French onion soup.  (Recipe says to put soup in the blender but I don't bother). Put in soup and let simmer 10 min.  Add small can of tomato sauce I think it is 8 oz. and small can of tomato paste I think it is 6 oz.  I put in a can of diced tomatoes but I don't think they are in the recipe.  1 can kidney beans I use light ones.  Spices I use my hand and do it by sight but I would say that I probably use a big teas of chili powder and Cumin.  And a good 1/2 teaspoon of black pepper.  Let simmer together for a while.    I double this but that makes a lot.


I followed it except for a few things. First I sautéed 1 clove of garlic and 1 shallot in 1 Tbs of olive oil.

 
Then I added a package of ground turkey and browned it.


Next I added a can of French onion soup.


While this was simmering I mixed up some cornbread.
 
1 Box Jiffy corn muffin mix
1 egg
1/4 cup milk


After I mixed this together I decided to half a can of creamed corn.


I had these silicone baking tray that was just a bunch of little squares so I gave it a try.


I popped this in the over at 400 degrees for 20 min. Then I went back to the chili. At this time I added an 8 oz can of tomato sauce, a 6 oz can of tomato paste, a can of kidney beans that I drained and rinsed, a can of diced tomatoes and the spices listed above. Then I let this simmer so that it all mixed together.


Of course I had to try it out! It was very good!
 
 
After this I took my cornbread out of the oven. I didn't have any toothpicks to test them so I used a chopstick.


This meal was so much fun to make that I am going to make it again tomorrow for another family!


Friday, April 19, 2013

Cornish Game Hen

I got a Cornish Game Hen at Grocery Outlet the other day and decided I wanted to try to cook it. I looked on Pinterest for ideas and found one in a crock pot.

I have a small 1.5 qt crock pot that I thought would be great for this.

Here is the recipe I used:
1 Cornish game hen
1 onion
4 cloves of garlic
2 Tbs olive oil
1/2 teas salt
1/2 teas ground pepper
1 teas garlic and onion seasoning mix
1/4 cup water or white wine

The first thing I did was sprinkle the bottom of my crock pot with half the salt and pepper.  Then drizzle 1 Tbs olive oil over the bottom of the pot. Rough chop the onion and spread over the bottom of the pot.


The next step was to place the frozen cornish game hen on top of the onions. However, when I  pulled mine out of the wrapper there were still feathers in the skin! YUCK! I decided to pull the skin off. I also noticed the wrapper said, "Gibblets may be missing." So in my mind that meant they may still be in there. So I went looking for an opening where they might be and couldn't find one. I was a little scared that this hen might not be cleaned out on the inside. But I cleaned it the best I could and put it in the pot.


Next I drizzled the remaining Tbsp of olive oil on the bird. Rough chop the garlic and place half on top of the bird and the rest, let fall in the pot. (I did not use the whole four cloves of garlic)  Season the bird with salt, pepper and garlic & onion seasoning. Top the bird with dried or fresh rosemary.

 
Add a 1/4 cup of water or white wine to the pot. I used water.


After this I put the lid on and stuck it in the fridge over night.


The Next morning I plugged in the crock pot and let the bird cook on low while I was at work.


When I got home the chicken was nice and tender and falling off the bone!


For a first attempt it was pretty good!


One More Easter Recipe

It has been a while since my last post AGAIN!!! UGH! So I have one more recipe from Easter that I would like to share. This is the original recipe for Bacon, Egg, and Cheese Pull Apart Bread:
  • 1  egg
  • 2 tbsp milk
  • 1  (16.3-oz.) can Pillsbury® Grands!® Flaky Layers Refrigerated Original Biscuits
  • 1  (2.1-oz.) pkg. precooked bacon, cut into 1/2-inch pieces
  • 3  oz. (3/4 cup) shredded Cheddar cheese
  • 1/4  cup finely chopped green onions (4 medium)

Directions

  1. 1Heat oven to 350°F. Spray 11x7- or 12x8-inch (2-quart) glass baking dish with cooking spray. In large bowl, beat egg and milk with wire whisk until smooth.
  2. 2Separate dough into 8 biscuits; cut each into quarters. Gently stir biscuit pieces into egg mixture to coat evenly. Fold in bacon, cheese and onions. Spoon mixture into sprayed dish; arrange biscuit pieces in single layer.
  3. 3Bake at 350°F. for 23 to 28 minutes or until golden brown. Cut into squares.

This is how I made it: I was making it for a Potluck Brunch on Easter Sunday at church so I wanted to make it bigger AND I wanted to be more like an egg casserole.

1. I used 6 eggs. (I went back later and added 2 more)


2. Next I whisked the eggs together with 6 Tablespoons of milk.


3. The original recipe called for precooked bacon. I had some turkey bacon on hand so I cooked up about half a package.


4. While the bacon was cooling, I cut the biscuits in 8 pieces.


5. Then I added the biscuits to the egg/milk mixture.


6. Then I added about a cup of shredded Colby Jack Cheese and the bacon.


7. After I mixed it up I put it in a lightly greased glass baking dish and topped it with a nice helping of shredded cheese.


At this point I put it in the refrigerator over night so I could pop it into the oven in the morning. The next morning I put it in the oven at 350 degrees for 25 minutes. Here is the finished product:
 
 
It was very yummy!